The Complete Guide: How to Use Red Light Therapy for Optimal Results
In recent years, Red Light Therapy has emerged as a game-changer in the realm of holistic wellness. Whether you’re new to this therapy or seeking insights to maximize its benefits, understanding how to use Red Light Therapy effectively can elevate your experience. Let's explore the steps for harnessing the potential of this transformative therapy.
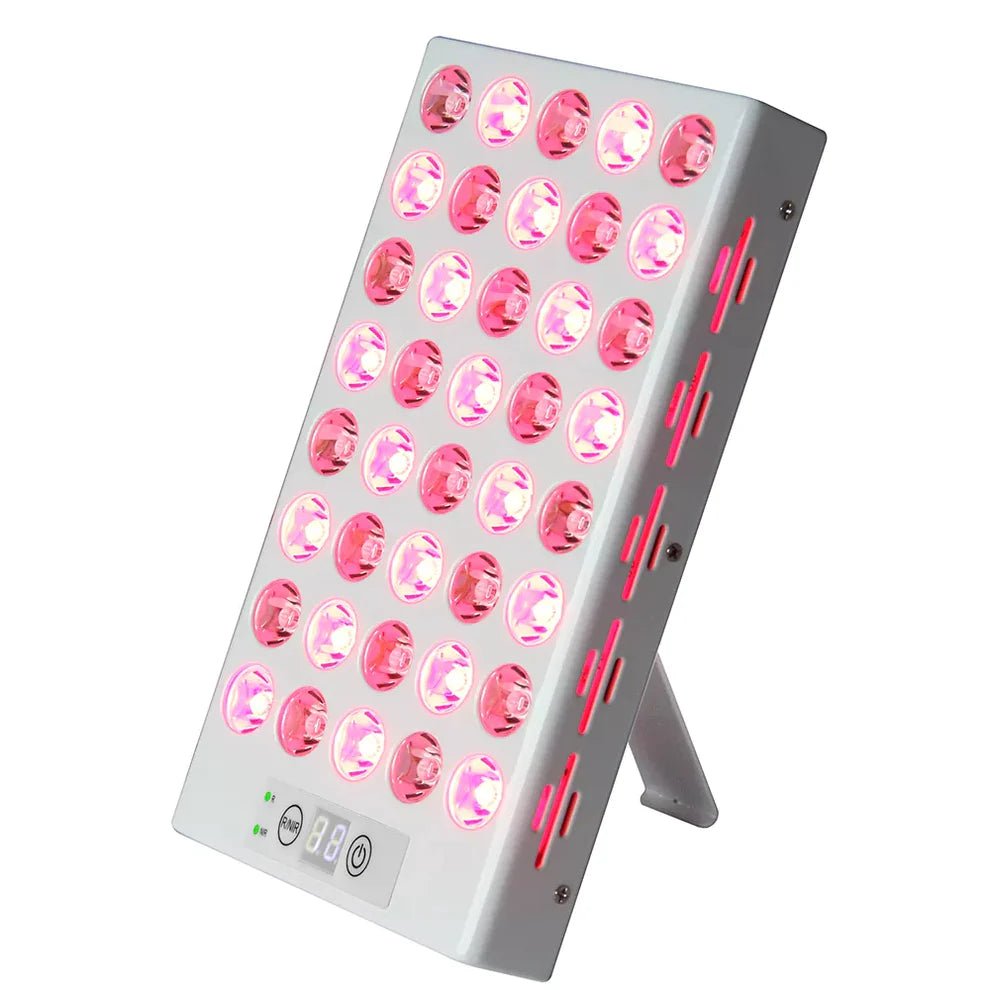
Step 1: Choose the Right Device
Selecting the appropriate Red Light Therapy device is crucial. Opt for a reputable, high-quality device with the ideal wavelengths, typically around 660nm and 850nm, ensuring optimal penetration and therapeutic effects. Whether it's a panel, belt, or handheld device, consider your specific needs and preferences.
Step 2: Determine Treatment Areas
Identify the target areas for therapy. Whether you aim to address muscle soreness, joint discomfort, skin rejuvenation, or overall wellness, pinpointing these areas will help in planning your sessions effectively.
Step 3: Establish Treatment Duration and Frequency
Decide on the duration and frequency of your Red Light Therapy sessions. Start with shorter sessions, typically 10 to 15 minutes, gradually increasing up to 30 minutes per session as your body adjusts. Consistency is key—aim for regular sessions, whether daily or several times per week, to maximize benefits.
Step 4: Prepare for the Session
Ensure the treatment area is clean and dry before commencing the session. Wear appropriate clothing that allows exposure to the targeted area. For instance, for skin-related therapy, it's best to expose the skin to the red light directly.
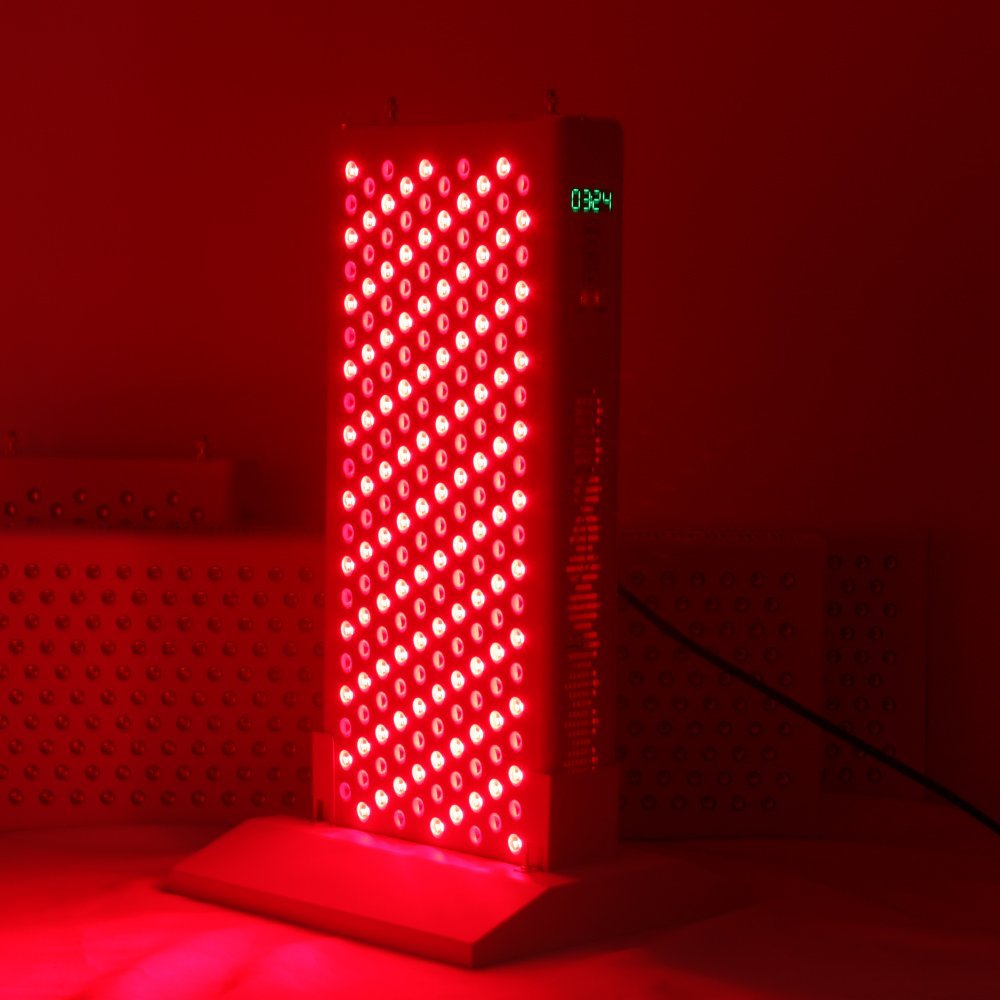
Step 5: Positioning and Distance
Position the Red Light Therapy device according to the recommended distance and angle from the treatment area. Maintain the specified distance—typically a few inches—to optimize light absorption and penetration into the skin or muscles.
Step 6: Relax and Reap the Benefits
Once you've positioned the device, relax and allow the therapy to work its magic. Whether you're using Red Light Therapy for skin rejuvenation, pain relief, or general wellness, this time is for you to unwind and let the therapeutic light do its wonders.
Step 7: Post-Treatment Care
After the session, there's no need for extensive post-treatment care. However, ensure you hydrate adequately and continue with your usual routines. For skin-related treatments, apply a suitable moisturizer or skincare product for enhanced nourishment.
Conclusion: Embrace the Power of Red Light Therapy
Red Light Therapy offers a world of potential for enhancing well-being, addressing various concerns from muscle recovery to skin rejuvenation. By following these simple steps and integrating Red Light Therapy into your routine, you can unlock the therapy's transformative benefits and pave the way for a healthier, happier you.